That seems like a cheery kitchen-esque colour - right? Right.
You might recall the pictures I posted before of the blue and rooster filled kitchen. If you don't I will
 |
| Greg, grinning through the uglyness |
 |
| Ta Da! |
So the first thing to do was strip the wallpaper which I thought would only take a day. I was wrong, and it took about 3 days and my arm was KILLING me by the end.
My only other experience with removing wallpaper was when my family first moved to Nova Scotia. The house we bought was covered with hideous (and copious amounts) of wallpaper. I thought I would be helpful and give my parents a hand to remove it. It turns out that peeling wallpaper is boring, tedious and not something suited for my 11 year-old self.
That quickly ended my first experience with wallpaper removal.
If you can see, you'll notice the strange brown spot above the door. When I was peeling the wallpaper, parts of the wall, or what I thought was the wall, was actually coming off with the paper! It turns out that years and years ago there was linoleum flooring (or something that looked like linoleum flooring) on the wall and then covered up with a few layers of paint once someone realized that was a horrible idea. So this lovely site emerged and after my panic subsided I realized that it wasn't a big deal and I could 'fix it' with some wall putty - phew:

 |
| A close up, just in case you can't make it out in the first picture. |
Some parts of this far wall were covered in plaster that wasn't sanded down so again, I was surprised when

In addition to giving myself more than a day to remove wallpaper, I have learned that putting it up can cover a whole lot of crap (holes, cracks, old gross linoleum flooring).
Once all of the paper was down and the glue had been scrubbed clean from the walls it was on to the primer! Since we were painting the blue walls yellow it was necessary to use primer:
 |
| See-ya later you ugly roosters! |
 |
| It covered the brown spot pretty well after two coats. |
 |
| It also impressively covered the 'plaster wall' |
After putting on two coats of primer and spending a week on this project I was more than thrilled to be able to put on the actual paint!
You'll notice that it is very similar to the primer, so we slacked a little and only put on one coat. Anything is better than what was there initially, right? Right.

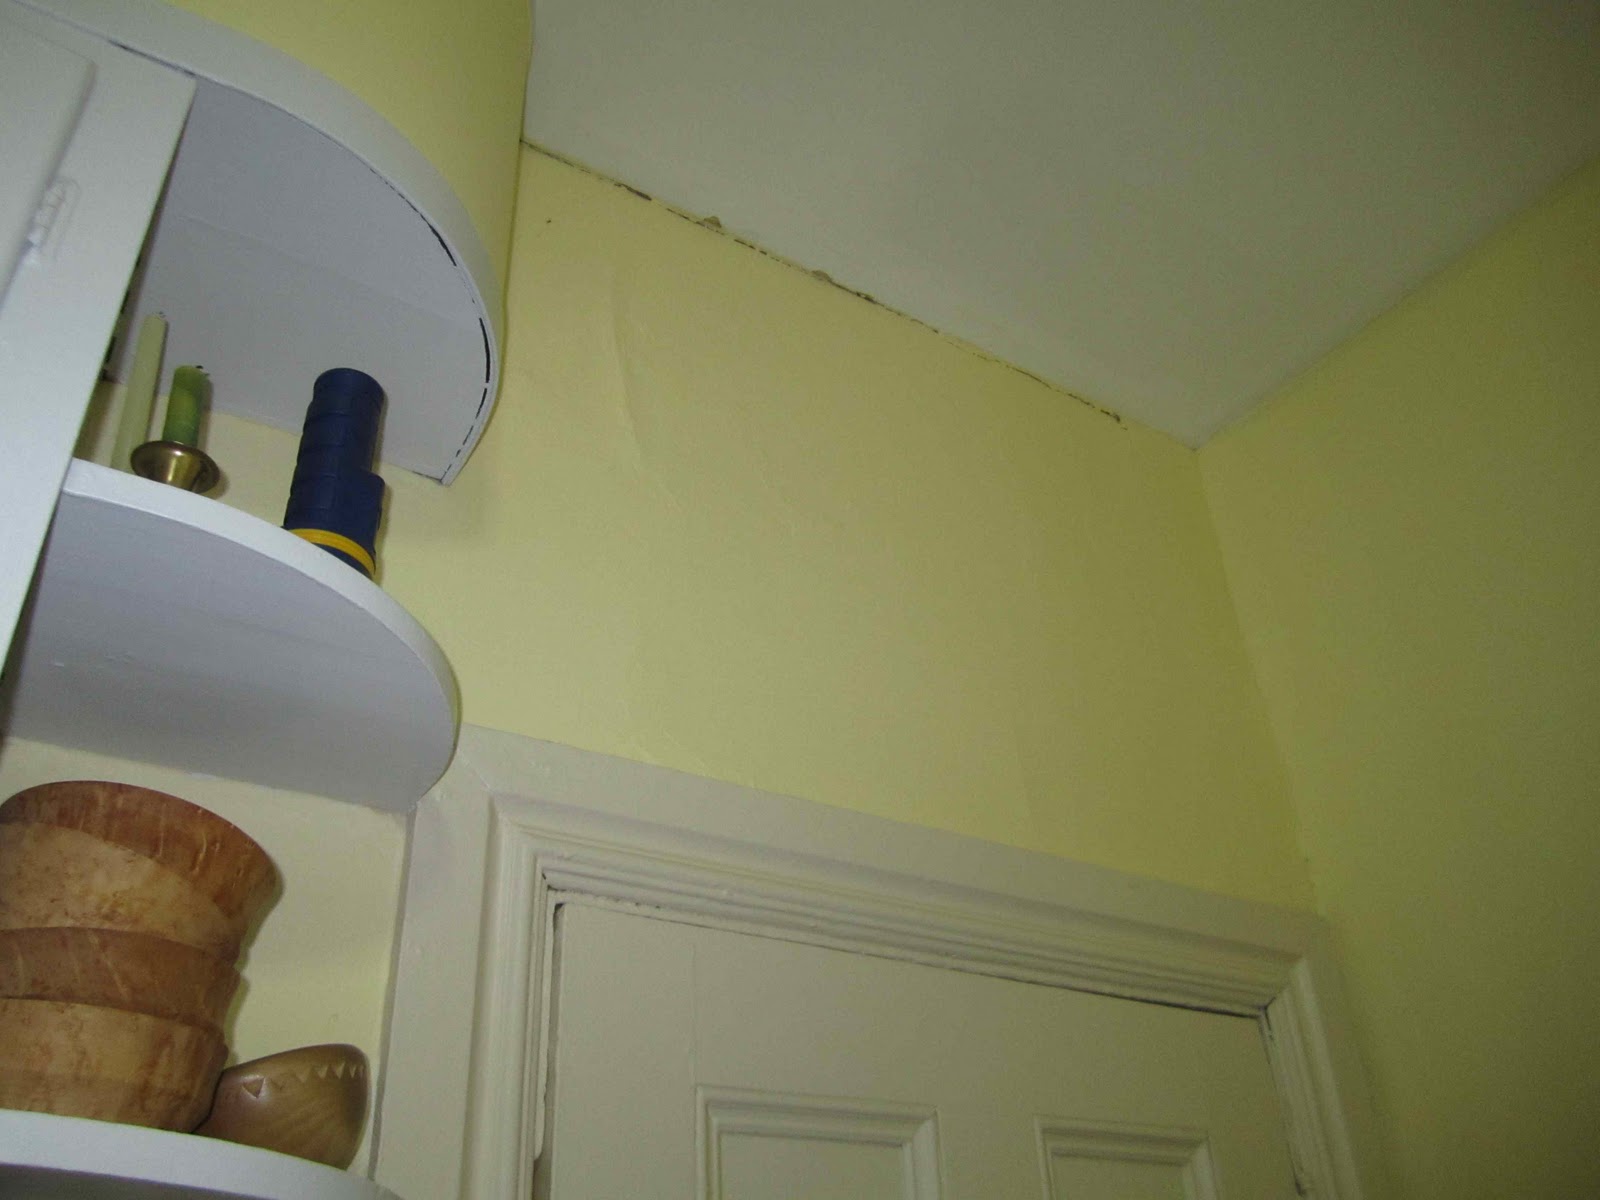 |
| A bit of brown left at the very top, meh! |
We said good-bye to the blue vinyl blinds (that were never installed properly it turns out) and popped up a tab curtain - thanks Giant Tiger!

 |
| These shelves look much nicer with a clean background |
This is my new favorite spot in Greg's apartment. I can use the internets while being warmed up from the heater right next to me AND listen to tunes from the iPod doc by my head.
Also this is a great example of not buying your own furniture - the table came from my patio set (I'm currently sitting on one of the two chairs that came with the set at my apartment in Fredericton) and the chair came from Greg's parents. It's like thrifting without even setting foot in a thrift store!

Well that ends the adventures in 'renovating' a kitchen. It's amazing how much brighter a small space looks with a lighter (and new!) coat of paint and MUCH less wallpaper!
No comments:
Post a Comment